Nearly one-third of food is lost or wasted across the supply chain and consumption system, because the Food and Agriculture Organization guide on food loss and waste reports that approximately 13.2% of food is lost globally after harvest but before retail, while a further 19% is wasted at the retail, foodservice, and household stages. That reframes catering supplies completely. They're not presentation extras you buy after the menu is set. They're the system that decides whether prepared food stays protected, holds temperature, and reaches guests without contamination, spillage, or early disposal.
Judge every item by three questions. Where does it sit, what does it touch, and how do you verify it's working? A chafing dish that looks right but can't hold heat fails the third question. A cover that fits badly fails the second. A cooler packed without a thermometer fails all three, because you've got no evidence the food inside stayed safe.
The Essential Catering Supplies Checklist
Catering supplies are the equipment, containers, serving tools, and hygiene products that let a caterer hold, move, serve, and clean food safely at an event.
Essential Catering Supplies by Category
| Category | Essential items | Core job | Typical situation |
|---|---|---|---|
| Serving and buffet | Chafing dishes, serving spoons, sneeze guards, sheet pans | Present food and limit guest contact | Buffets and receptions |
| Holding and temperature | Insulated coolers, ice wells, probe thermometers, heated holding units | Keep hot food hot and cold food cold | Any off-site event |
| Transport and storage | Food-grade transport containers, labelled bins, rack carts | Protect food in transit and in storage | Drop-off and outdoor catering |
| Food protection | Buffet covers, 16-mesh screens, insect-control devices | Keep insects and debris off food | Open-air and outdoor service |
| Tableware and utensils | Dispensing utensils, plates, cutlery, napkins | Serve without cross-contact | Plated and buffet service |
| Sanitation | Sanitizer, cleaning cloths, hand-wash station, gloves | Keep surfaces and staff clean | Every event |
| Setup and display | Linens, risers, tables, signage | Organise the service flow | Every event |
Work by function, not brand. Check each row against your event and ask what's doing that job. If no item answers for holding and temperature, you don't have a gap in style. You've got a gap in food safety, and no display piece covers it.
Scale changes quantity and backup, not categories. A small private party needs one item from each row in small quantities, one cooler, one set of serving tools, one wash setup. A 300-guest wedding, to use a clear hypothetical, needs the same seven rows plus redundancy where failure hurts most. Pack a second set of chafing dishes so a fresh pan replaces an empty one without a pause. Bring a spare cooler so backup food isn't competing for ice space with the service line.
What Gets Missed Most Often
Three items fall off lists because they don't look like catering supplies to a first-time buyer.
- Probe thermometers: Without one, you're guessing at holding temperatures. Guessing isn't verification, and it's the first thing an inspector or a sick guest exposes.
- One dispensing utensil for each buffet container: Shared utensils move food between pans and turn one guest's contact into everyone's. Count pans, then count utensils, then add spares for drops.
- A hand-wash station: Gloves don't replace washing. If your venue has no accessible sink, a portable station with soap, water, and towels has to travel with you.
Practical rule: If an item has no backup and its failure stops service or breaks temperature control, it's not optional stock. It's critical stock, and you pack two.
Tick every row before you price anything. A complete list bought in the wrong quantities is fixable. A missing category discovered on site usually isn't.
Catering Supplies Organised by Service Type
Start with one question. How does food reach the guest? That answer decides what you pack, because each format exposes food differently and fails differently.
This buffet station shows the basic self-service challenge, open pans, guest traffic, and holding equipment all sharing one table.
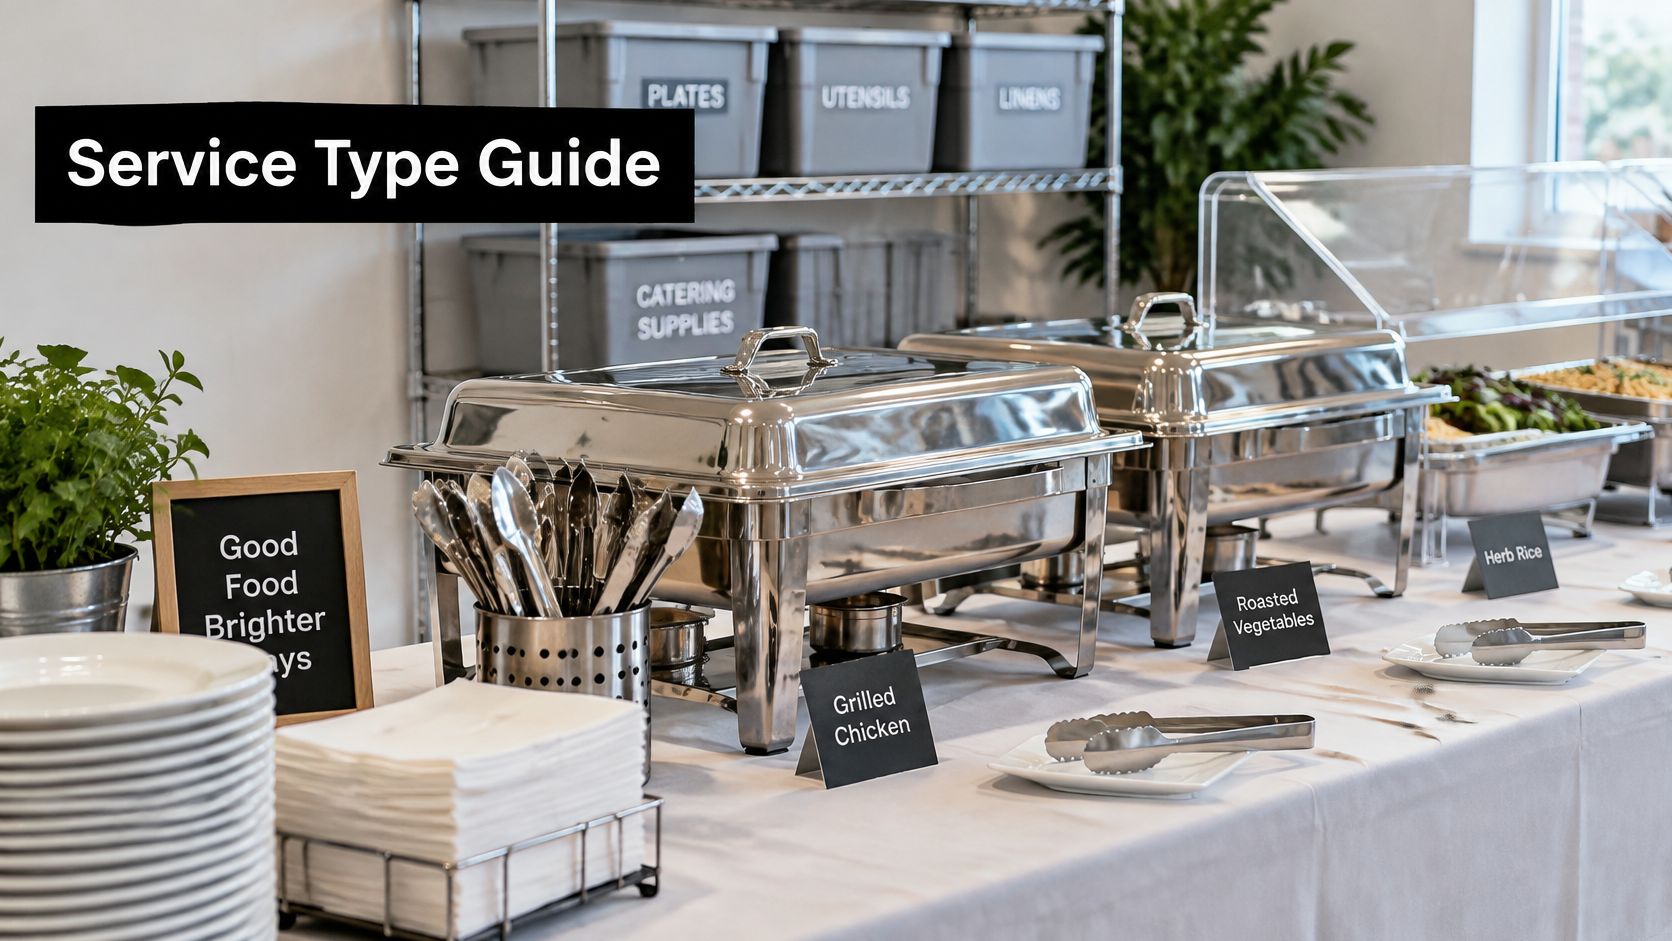
Priority Supplies and Main Risk by Service Type
| Service type | Priority supplies | Biggest risk |
|---|---|---|
| Buffet | Sneeze guards, covers, one dispensing utensil per pan | Guest contact and open exposure |
| Plated | Heated holding, transport racks, plate covers | Delays and cold food on arrival |
| Outdoor reception | Insulated coolers, ice, shade, small serving trays | Heat gain and insect access |
| Hotel banquet | Chafing systems, probe thermometers, backup pans | Holding failure over long service |
| Drop-off | Transport containers, labels, cold packs | Breaks in the cold chain during transit |
| Food truck or market stall | Compact multi-use equipment, hand-wash station | Limited space and no backup storage |
Use the table as a decision sequence. First, name your format. An outdoor buffet is two formats at once, so it carries both guest-contact risk and heat-gain risk. Second, pack for the biggest risk before you pack for appearance. Third, add backup only where the risk column says failure develops over time, long holds, transit, and heat.
Outdoor service makes the point sharply. The USDA guidance on keeping food safe identifies 40°F to 140°F as the danger zone in which bacteria multiply rapidly, and it says perishable foods shouldn't remain at room temperature longer than two hours, or one hour when ambient temperature exceeds 90°F. So an outdoor layout isn't a table with food on it. It's a temperature-control chain, pre-chilled food, well-iced coolers, shaded containers, and only limited quantities on the line at once.
Plated service inverts the problem. Guests never touch the food, but every plate waits somewhere between the pass and the table. Heated holding and covered transport racks protect that gap. Drop-off work inverts it again, because your control ends at handoff, so labels with contents and holding instructions do work that staff would otherwise do in person.
When you're comparing holding and heating units for any of these formats, you can browse catering equipment to see how commercial units are grouped by function before you commit to sizes. Match the unit to your format first. Brand and finish come after.
Choose Supplies That Hold Up Under Service
Don't judge catering supplies in a showroom. Judge them against tests you can run at a real event, where heat, stacking, washing, and transport all hit at once.
This checklist sets out the tests in the order I'd run them before any bulk order.
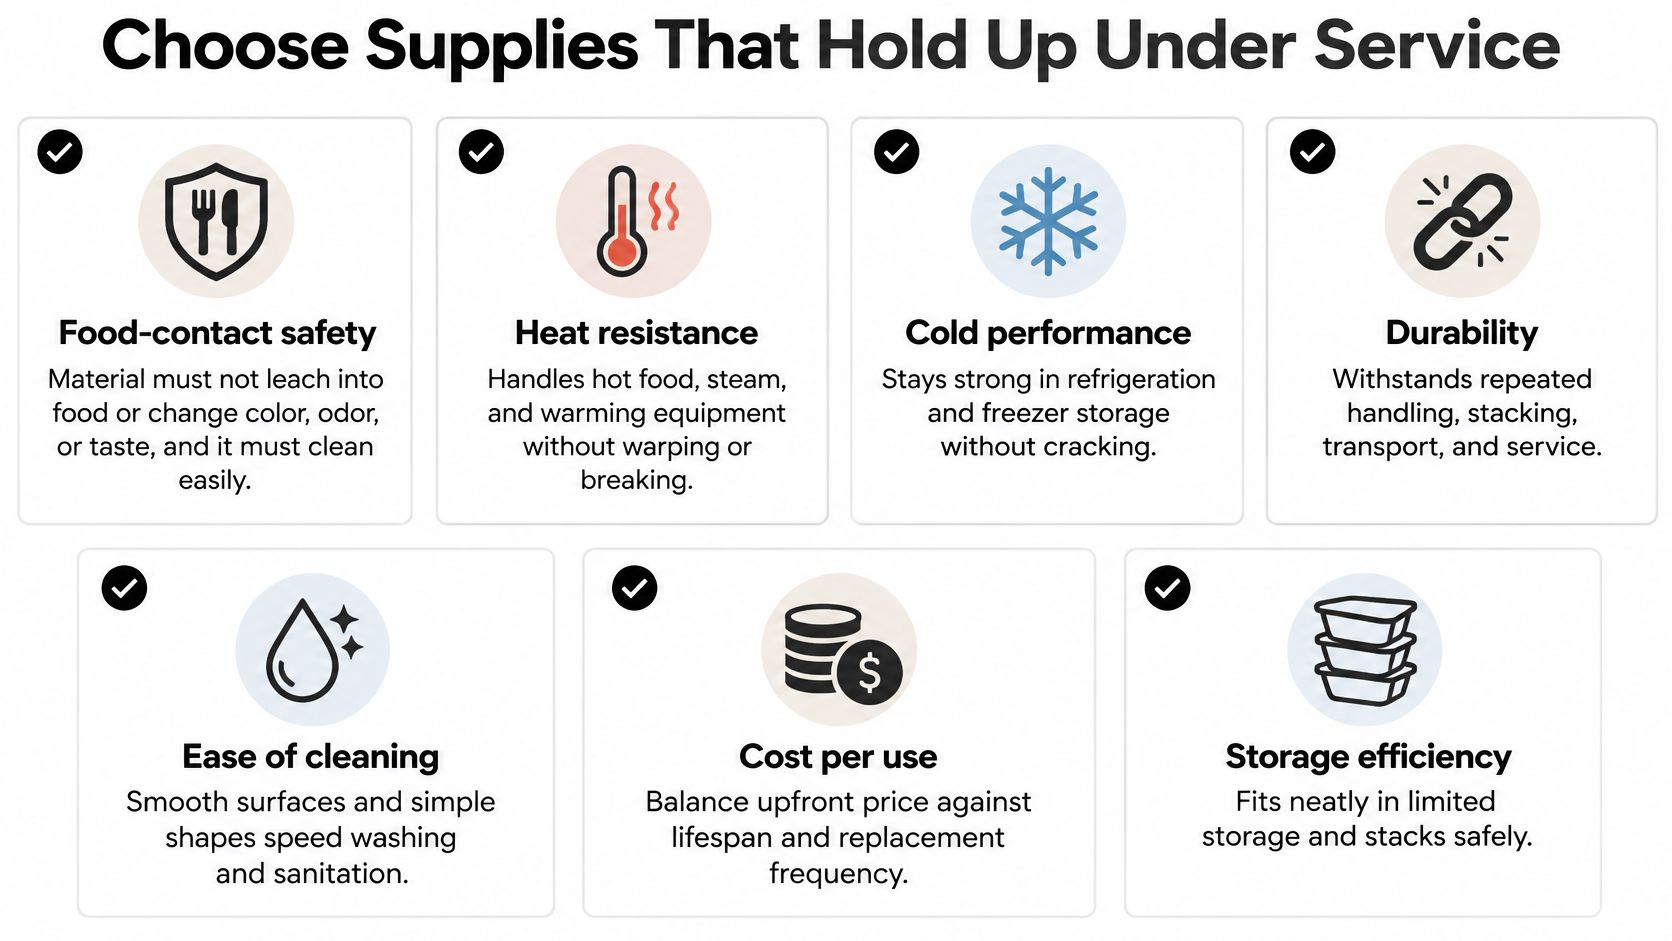
Food-contact safety comes first. The 2022 FDA Food Code specifies that materials used for utensils and food-contact surfaces must not allow harmful substances to migrate into food or impart unacceptable colors, odors, or tastes under normal conditions of use, and it requires equipment to be properly designed, maintained, cleaned, and sanitized. If a supplier can't state what a food-contact surface is made from, stop there.
Durability is a cycle test, not a squeeze test. Run the item through repeated washing, stacking, and a loaded van ride, then inspect for chipping, warping, and cracks at stress points like handles and rims. Cheap pans that warp stop sealing against lids, and a lid that doesn't seal turns a transport container into an open tray.
Performance Tests You Can Run
- Insulation: Fill the cooler the way you'd fill it for service, ice it, close it, and log internal temperature over your longest realistic event window. Count the hours it holds at or below the cold holding limit. That's your usable rating, whatever the box claims.
- Weight and footprint: Weigh the item loaded, not empty. Loaded weight decides whether one person can carry it safely and how many trips your crew makes. Footprint decides van space, which decides how many events one vehicle can serve.
- Cleanability: Look for flat seams and no crevices where food lodges. Run it through your actual dishwasher or wash routine. If cleaning takes scrubbing in corners, it'll get cleaned badly on a tired night.
Repair and replacement cost separates professional kit from disposable kit in disguise. Ask whether hinges, latches, lids, and heating elements are replaceable as parts. A repairable unit with a spare lid in stock survives accidents. A sealed unit becomes waste the first time something cracks.
For reuse break-even, divide the full cost of washing, transport, and handling by the number of realistic uses, then compare that figure with the per-event cost of disposables. Use your own loss rate in the maths, because items that walk away or break never reach the use count on the brochure.
If you're building out the supporting kit around your main units, this overview of commercial kitchen accessories helps you sort core equipment from nice-to-have extras before you spend.
Close with a go or no-go test. Order one sample. Run it through a full event cycle, prep, transport, service, wash, storage. Record breakage, cleaning time, and temperature readings. I wouldn't commit to bulk stock on any item that hasn't passed that cycle once.
Temperature Limits and Hygiene Rules to Plan For
Catering supplies are only as good as the limits they hold. Put the numbers where your crew can see them, then build the routine that keeps food inside them.
Holding Limits and Hygiene Requirements
| Requirement | Limit | Applies to |
|---|---|---|
| Cold holding | 41°F (5°C) or below | Cold perishable food |
| Hot holding | 135°F (57°C) or above under FDA Food Code (USDA advises 140°F) | Hot perishable food |
| Room-temperature limit | Two hours | Perishable food left out |
| Room-temperature limit above 90°F | One hour | Outdoor service in heat |
| Self-service dispensing | One dispensing utensil per displayed container | Buffets and salad bars |
| Food-contact materials | Must not migrate into food or change colour, odour or taste | All utensils and surfaces |
The FDA Food Code specifies that time and temperature control for safety foods should be received and maintained at 5°C (41°F) or below when cold-held, while foods removed from hot holding should be at least 57°C (135°F), and it also requires a dedicated dispensing utensil for each container at consumer self-service units such as buffets and salad bars. That's why supply selection is microbial-risk control. Insulated coolers, ice beds, heated chafing systems, and calibrated probe thermometers are the tools that keep food outside the rapid-growth range.
Hot holding has two numbers in play, so plan to the stricter habit. The USDA guidance on safe handling of take-out foods says hot foods should be held at 140°F or above while cold foods should remain at 40°F or below, and perishable items left at room temperature for more than two hours should be discarded, or after one hour above 90°F. Working to the warmer hot-holding target gives your crew a buffer before food drifts out of range.
This breakdown of the food safety danger zone explains why the time between those limits matters as much as the temperatures themselves.
The Service Routine
- Pre-chill and pack cold. Chill cold foods before loading, pack coolers with plenty of ice or frozen gel packs, and keep containers shaded outdoors. A cooler maintains cold. It doesn't create it.
- Nest and shrink. Nest cold serving dishes in ice and use small trays on the line. Small trays shorten the time any one portion spends exposed and make your temperature checks more representative of what guests eat.
- Replace, don't top up. Swap an exhausted tray for a fresh chilled platter from backup stock. Adding fresh food to an exposed dish mixes safe food into food that's been warming and handled.
- Calibrate before service. Check probe thermometers before each event so your readings mean something. An uncalibrated probe produces confident, wrong numbers.
- Log and act. Record readings at set intervals, note how long each item has been out, and decide in advance what happens to out-of-range food. The action is discard or rapid correction within the time limit, never wait and see.
A temperature log you fill in from memory at pack-down is fiction. Write readings down when you take them, or don't claim you checked.
Insect protection supports this routine by reducing access to exposed food. It never replaces holding equipment, utensil discipline, or the log.
Pest Control Placement for Food Service Areas
Placement and process protect food better than any device on its own. A well-placed cover with disciplined sanitation beats an expensive device parked in the wrong spot, and the difference shows up at the line, the doorway, and the waste station.
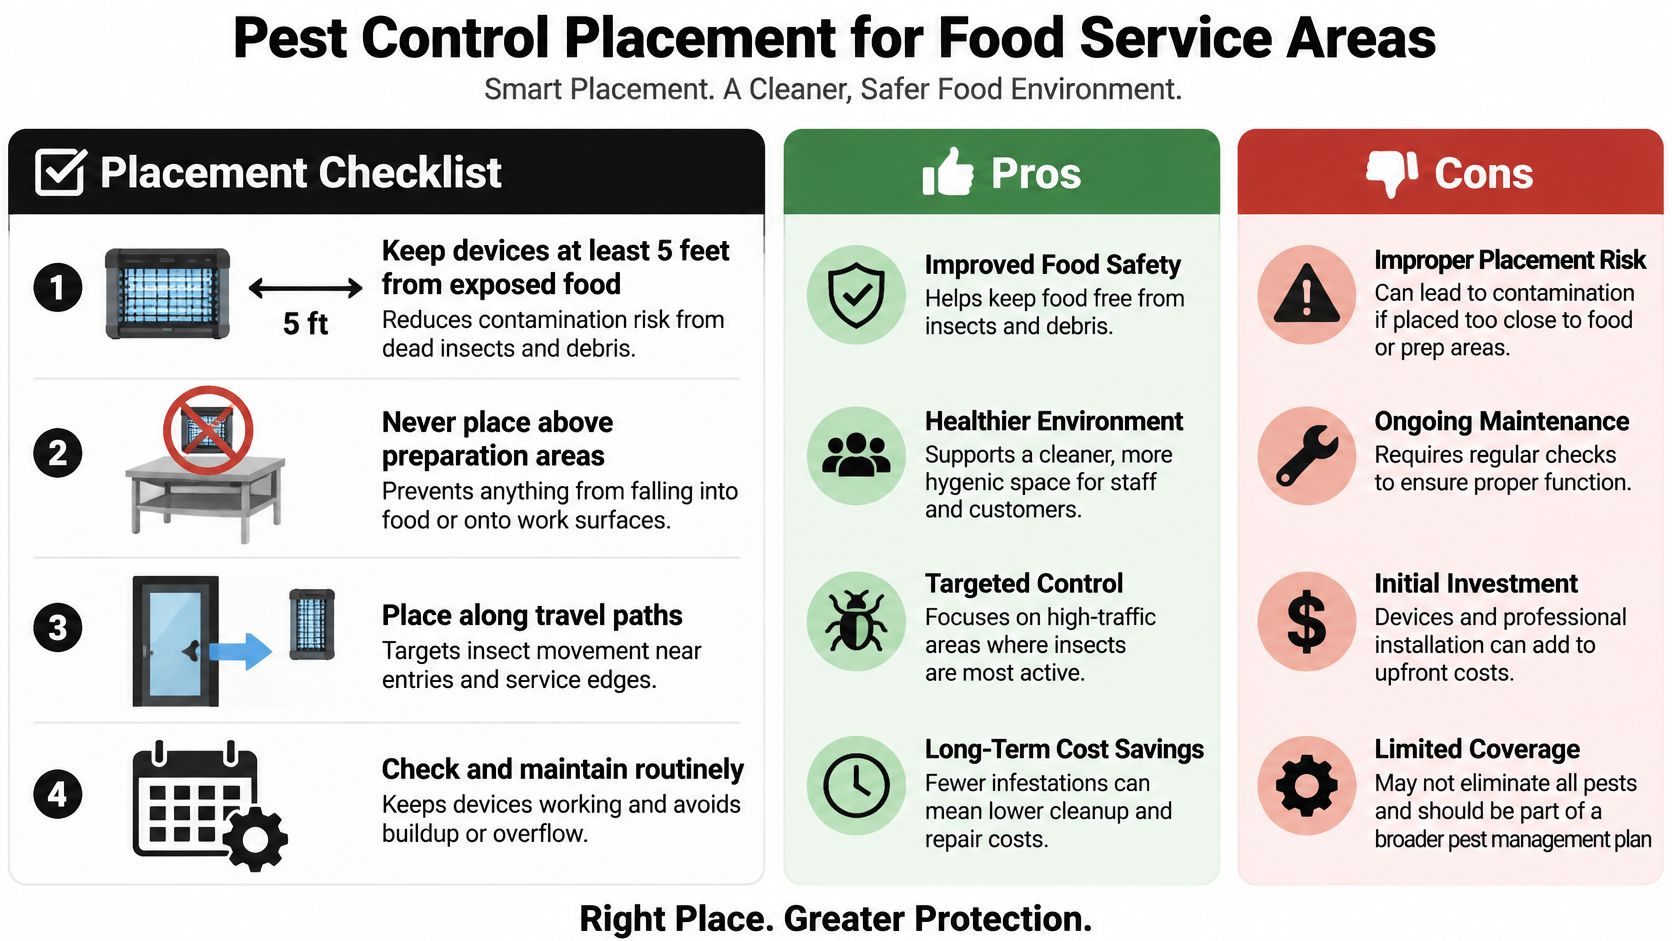
The Food Standards Australia New Zealand guidance on pests sets the baseline: prevent pests, keep food covered or enclosed, use screens or self-closing doors, seal gaps, remove waste regularly, and position pest-control devices so pesticides or dead insects cannot contact food or food-contact surfaces. The 2022 FDA Food Code adds the placement rule for food establishments. Insect-control devices must not sit over food-preparation areas or where dead insects or fragments could fall onto exposed food, clean equipment, utensils, linens, or single-use items. It also requires outer openings to be protected against insect and rodent entry with 16-mesh screens, properly designed and installed air curtains, or another effective method.
Door control and device placement belong in the same check. If insects can walk in, a fan or trap inside the room is working against an open supply.
Placement Checklist by Setting
- Open-air wedding buffet: Covers and sneeze guards on the line, devices placed away from it. Your risk is guest-side exposure, so the food itself stays covered between servings.
- Hotel terrace: Screens on openings, airflow devices near entries, and table-level protection once plates land. Terraces fail at the doorway, not the table.
- Food truck window: A screen at the service opening and a clear, wiped counter. Crumbs and spills at the window attract more insects than the food inside.
- Loading area: Door control and regular waste removal. Pests enter the building here, so exclusion and sanitation do the essential work.
- Indoor prep zone: Exclusion and sanitation first, devices only where they can't contaminate surfaces. Prep areas have the strictest placement logic because everything is a food-contact surface.
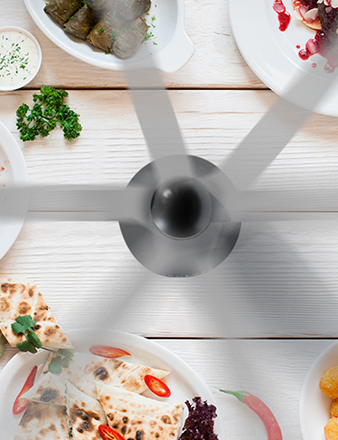
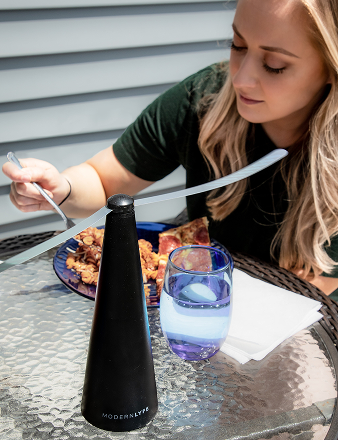
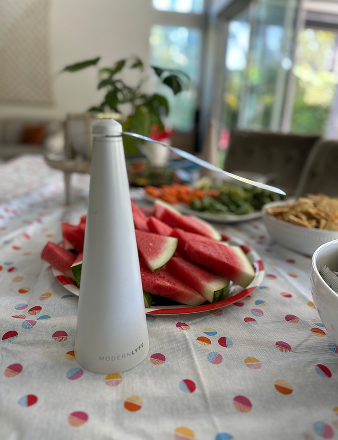
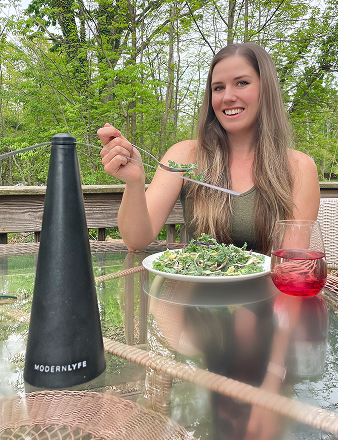
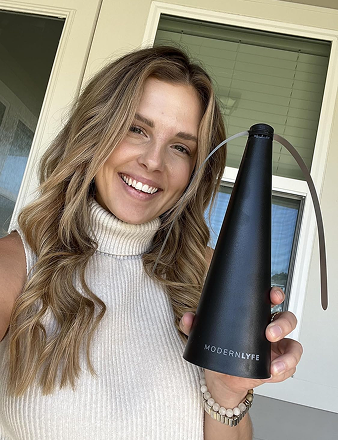
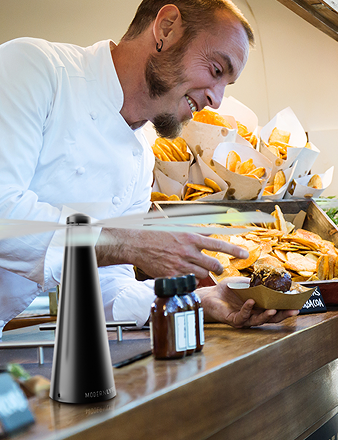
Table-level fans from Modern Lyfe can serve as a supplementary layer beside the service line, away from food contact, once local rules allow them. Supplement is the key word. They sit alongside covers, screens, and sanitation, not instead of them. For commercial kitchens dealing with persistent pressure at doors and waste areas, The Green Advantage kitchen pest control outlines how professional treatment fits around food operations, which is useful when exclusion alone isn't holding.
Before deploying anything at a commercial event, ask your local health authority which devices are permitted and where. Rules differ by jurisdiction, and this guide on fly control for restaurants covers the operational side of keeping service areas protected day to day. Get the answer before the event, not during an inspection.
Budgeting and Sourcing Without Overspending
The cheapest supply is often the one that wastes food. When holding equipment fails, you don't just lose a pan of food. You lose the ingredients, the labour that prepped it, the energy that cooked it, and the service capacity it would have covered.
This costing workup shows where supply decisions become food-cost decisions.
Split your budget in two. First-year purchase cost covers durable kit, coolers, chafing systems, transport containers, thermometers. Per-event cost covers ice, fuel, disposables, sanitizer, replacement utensils, and washing. Mixing them hides the truth, because a high purchase price with low per-event cost often beats cheap kit that consumes money every service.
Renting deserves a fair comparison. If you run occasional large events, renting holding and display equipment converts a big purchase into a known per-event cost and removes storage from your problem list. Buying wins when events are frequent enough that rental fees overtake purchase price within your planning horizon. Run both numbers before you decide.
The Reusable Versus Disposable Worksheet
Don't ask whether reusable is better in the abstract. Ask at what scale it wins for you. The 2025 Global Food Service Outlook from EHL reports waste and packaging, appliance and resource use, and sourcing scoring roughly 3.3 to 3.5 out of 5 among the more mature sustainability areas, and market forecasts cited there estimate the global reusable foodservice-packaging market at USD 43.64 billion in 2025, with projected growth to USD 61.37 billion by 2031. Growth doesn't answer your break-even question. This worksheet does.
- Units per guest: How many plates, utensils, and containers one guest uses.
- Wash cycles per item: How many washes before the item chips, warps, or looks tired.
- Water and energy per wash: Your real utility cost per load, not a guess.
- Labour hours: Washing, drying, sorting, and restacking time per event.
- Transport weight: Extra fuel and trips from heavier reusable stock.
- Loss rate per event: Items broken, kept, or thrown out by mistake.
- End-of-life disposal: What removal costs when the item finally retires.
For smaller private events where presentation carries more weight than throughput, hosts often shop stylish housewarming tableware as a middle path between hired china and plain disposables. Run it through the same worksheet. Looks don't exempt an item from the maths.
This short video walks through costing discipline you can apply line by line.
Confirm reusable food-contact items meet applicable safety requirements before buying, since compliance testing can add cost for smaller brands. Then map your sourcing channels, restaurant supply distributors, event rental companies, wholesale suppliers, direct manufacturers, and online marketplaces, and compare quotes on delivery, insurance, and return terms, not unit price alone. Shortlist two or three channels and keep the worksheet attached to every quote.
Confirm Your Setup Before the Next Event
Work through five checks in order. Each one depends on the answer before it, so don't skip ahead to quantities.
- Name your service type. Buffet, plated, outdoor, banquet, drop-off, or stall. That decision sets your priority supply list and your biggest risk.
- Verify holding capacity. Confirm your coolers, heated units, calibrated probe thermometers, and backup pans can hold your full menu within the stated limits for the full service window.
- Place insect protection. Apply the placement checklist for your setting, keep devices away from exposed food and prep areas, and confirm local rules for commercial events.
- Set the log. Fix reading intervals, assign who takes them, and write down the action for out-of-range food before service starts.
- Choose quantities by worksheet. Use the reuse break-even lines to decide what you buy, rent, or run as disposable. Not guesswork.
If table-level fly protection fits your setting, the Fly Fan for Tables is a rechargeable fly fan for outdoor and indoor use that keeps flies and pests away from food, intended for outdoor tables, patios, parties, food trucks, and al fresco cafes. It's offered in Single Pack, Two Pack, Four Pack, and 8 Pack options, with the Four Pack marked as most popular and the 8 Pack marked as best value.
Make one decision now. Which service type are you equipping, and how many units of each critical item does it need?
Complete your setup with table-level fly protection that fits buffet lines, outdoor receptions, patios, and food truck counters without getting in the way of service. Visit MODERN LYFE to choose the pack size that matches your event format and keep flies off the food your crew worked to protect.