It's Friday service, the back door is propped for deliveries, and someone spots a fly at the dish pit. You already pay for monthly restaurant pest control, so you log it in your head and move on. By Monday it's in the dining room, a guest has complained, and you're wondering why the contract didn't prevent it.
That gap is normal, and it's fixable. A spray visit can't close a door, dry a drain, or time waste removal between services. Those daily conditions decide whether pests return, which is why a shared program between your team and your contractor, measured by sighting trends, works better than a contract alone.
Build the Program in Six Phases
One fly by the dish pit or a rat near the bins can become a failed inspection and a guest complaint within days. Prevention costs far less than emergency treatment, lost stock, and a closure while you correct the source. I would start with the cheapest fix first, which is usually the condition that's feeding or sheltering the pest.
Prevention comes first because pests move contamination around your building. The World Health Organization guidance on pest control in food premises identifies flies, cockroaches, and ants as vectors capable of transferring organisms from waste and sanitation areas to food. Flies are a particular problem because they move between refuse and food handling areas and can regurgitate material onto food while feeding.
The Six Phases in Order
Run the phases in this sequence: 1. inspect incoming deliveries, 2. inspect the premises on a set walk, 3. sanitize and clear harborage, 4. exclude pests at entry points, 5. monitor with traps and sighting logs, 6. treat and verify only where monitoring confirms activity. That order matters. Treatment before sanitation and exclusion just kills the pests you can see while the breeding source keeps producing more.
If you're building this from scratch, our explanation of what integrated pest management means in practice covers the underlying principle, which is to monitor first and use the lowest-risk effective control. Larger operations use the same logic at scale, and this look at technology for warehouse pest monitoring shows how fixed monitoring points and trend data replace guesswork in storage environments.
| Phase | Core action | Frequency | Record to keep |
|---|---|---|---|
| 1. Inspect deliveries | Check boxes and produce for insects, droppings, webbing and damaged packaging | Every delivery | Receiving log with date and supplier |
| 2. Inspect premises | Walk drains, waste rooms, storage shelves, ceilings and equipment voids | Daily walk, weekly deep check | Location-based inspection log |
| 3. Sanitize and clear harborage | Remove crumbs, grease, standing water and leaks | End of every service | Cleaning checklist initialed by shift lead |
| 4. Exclude | Repair screens, door seals and gaps around pipes and utility lines | Monthly and after every repair | Repair ticket with location and date |
| 5. Monitor | Check traps and count sightings by station and shift | Weekly trap checks | Sightings log with weekly trend |
| 6. Treat and verify | Use targeted bait, gel or crack-and-crevice treatment only where monitoring confirms activity | Each contractor visit | Service report and post-treatment check |
Start with phases 2 and 3 this week. They fix the conditions that bring pests back, and they don't need a contractor visit or a purchase order. Add exclusion repairs and formal monitoring once the daily walk is consistent.
Practical rule: The program is working when sightings fall at the same stations where you made corrections. If counts drop in one spot and rise in another, you've moved the problem, not solved it.
Inspection and Sanitation Routine That Removes Harborage
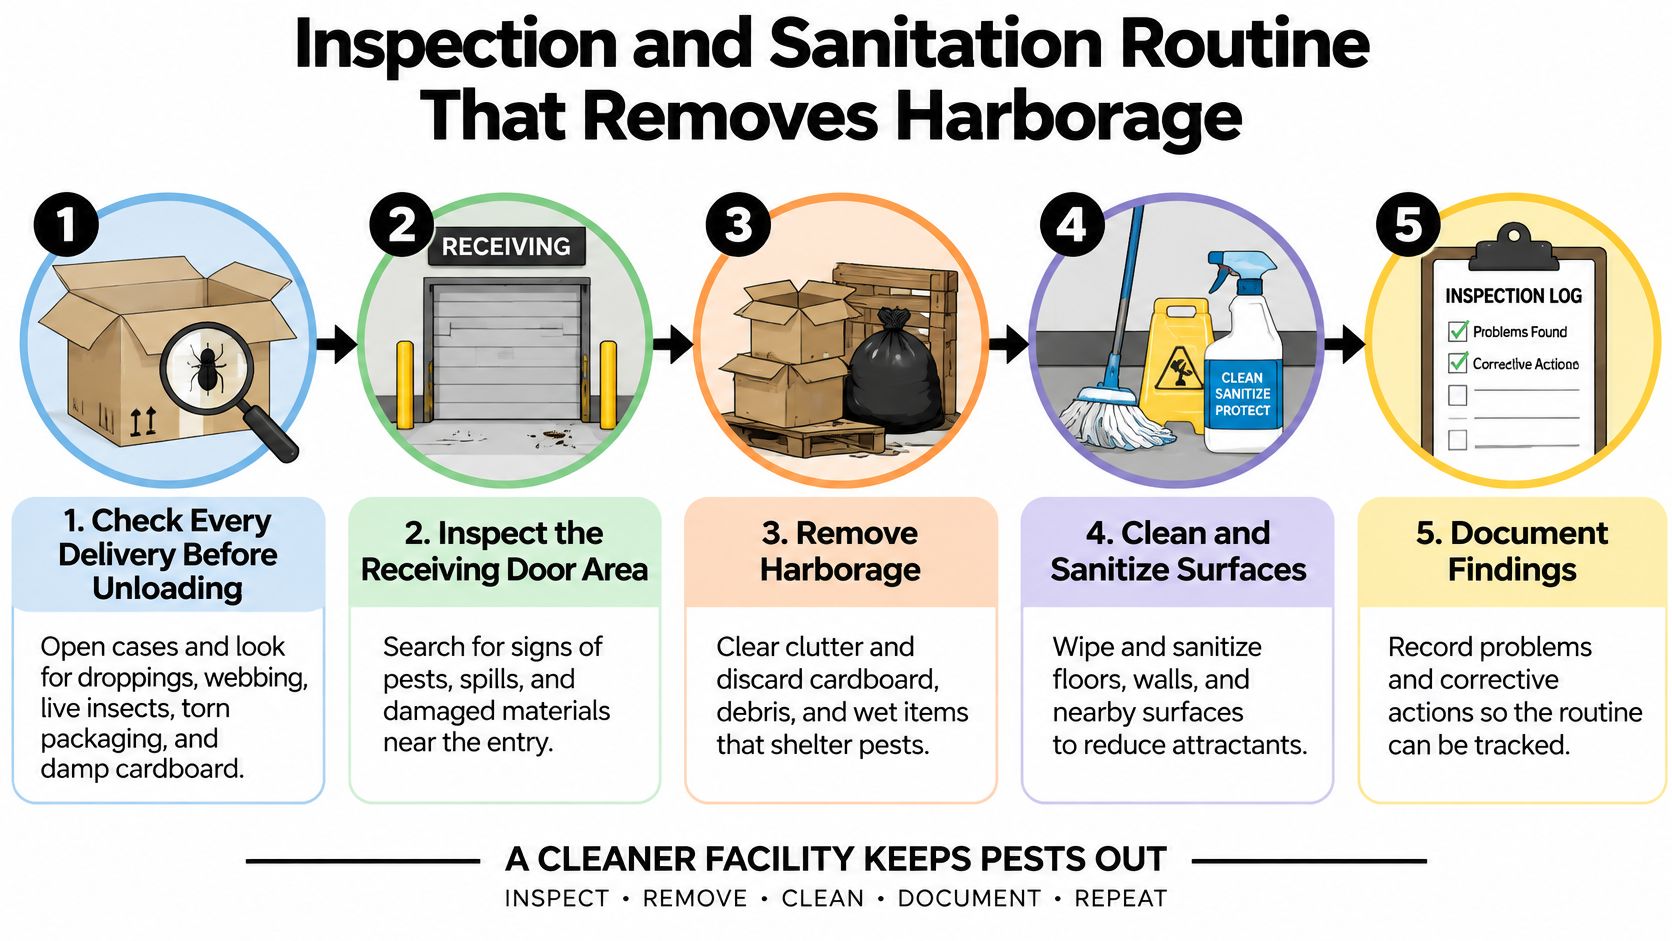
Start at the receiving door, because that's where pests arrive. The routine below follows the same path stock, waste, and water take through your kitchen, so nothing gets skipped because it sits between two people's jobs.
This visual summary shows the flow from delivery check to documented correction.
The Seven-Step Walk
- Check every delivery before unloading. Open cases and look for droppings, webbing, live insects, torn packaging, and damp cardboard. Set anything suspicious aside away from storage, photograph it, and note the supplier, because a rejected case at the door is far cheaper than a stored-product infestation in dry goods.
- Move stock straight into sealed bins or onto shelving. Never stage cases on the floor, where cardboard gives roaches and rodents warm cover and blocks your view of droppings. Break down outer boxes at receiving and send them out the same shift.
- Walk drains and floor sinks. Look for slime, debris, and slow water, since drain flies breed in that organic film. Scrub the drain walls and cover with a stiff brush, not just a flush of hot water, because the film clings above the waterline.
- Check the waste room. Lids closed, bins washed, liners replaced, and no standing liquid under or behind containers. Move waste to the dumpster between services, not only at close, so odors and food residue don't sit through the busiest hours.
- Inspect dry storage, behind coolers, and under equipment. Use a flashlight and look for droppings, grease trails, gnaw marks, and nesting material. Pull small equipment forward weekly, because the warm void behind a cooler motor is prime roach harborage.
- Clear harborage. Remove flattened cardboard stacks, sweep crumbs from under fryers and grills, and degrease hoods and vents. Grease is food and shelter at once, so a degreased line removes both.
- Fix every drip and dry the floor. Check under sinks, dishwasher connections, and ice machine trays, then squeegee wet areas dry. Standing water sustains roaches and flies even when food debris is gone, so a dry floor at close is a control, not a cosmetic detail.
This short video walks through how a structured inspection looks in a working food facility, which helps when you're training a new shift lead on what to look for.
Write each finding on the log with location, date, and initials. That turns a repeat sighting into a traceable pattern tied to one drain, door, or shelf, rather than a vague feeling that the kitchen "has flies again." It also shows your contractor exactly where to focus instead of treating the whole building.
A clean walk looks specific: no open food, no crumbs beyond the fryer line, bins closed and washed, drains scrubbed, floors dry, and every log entry dated and initialed. If you can't tick those off, you don't have a pest problem yet, you have a harborage problem that's about to become one.
Seal Entry Points to the Food Code Screen Standard
Exclusion works best when it's measurable, not a general promise to "seal things up." The FDA Food Code specifies that screens must provide 16 mesh openings per 25.4 millimeters, equivalent to 16 mesh per inch, for openings that could allow insects or rodents to enter. That's a pass or fail check you can run with a tape measure tonight.
The same code recognizes properly designed and installed air curtains or other effective means as alternatives for controlling flying insects where applicable. An air curtain helps at a busy receiving or patio door, but it doesn't replace a torn screen. Patch or replace damaged screening the same day, not at the next maintenance visit, because flies don't wait for your schedule.
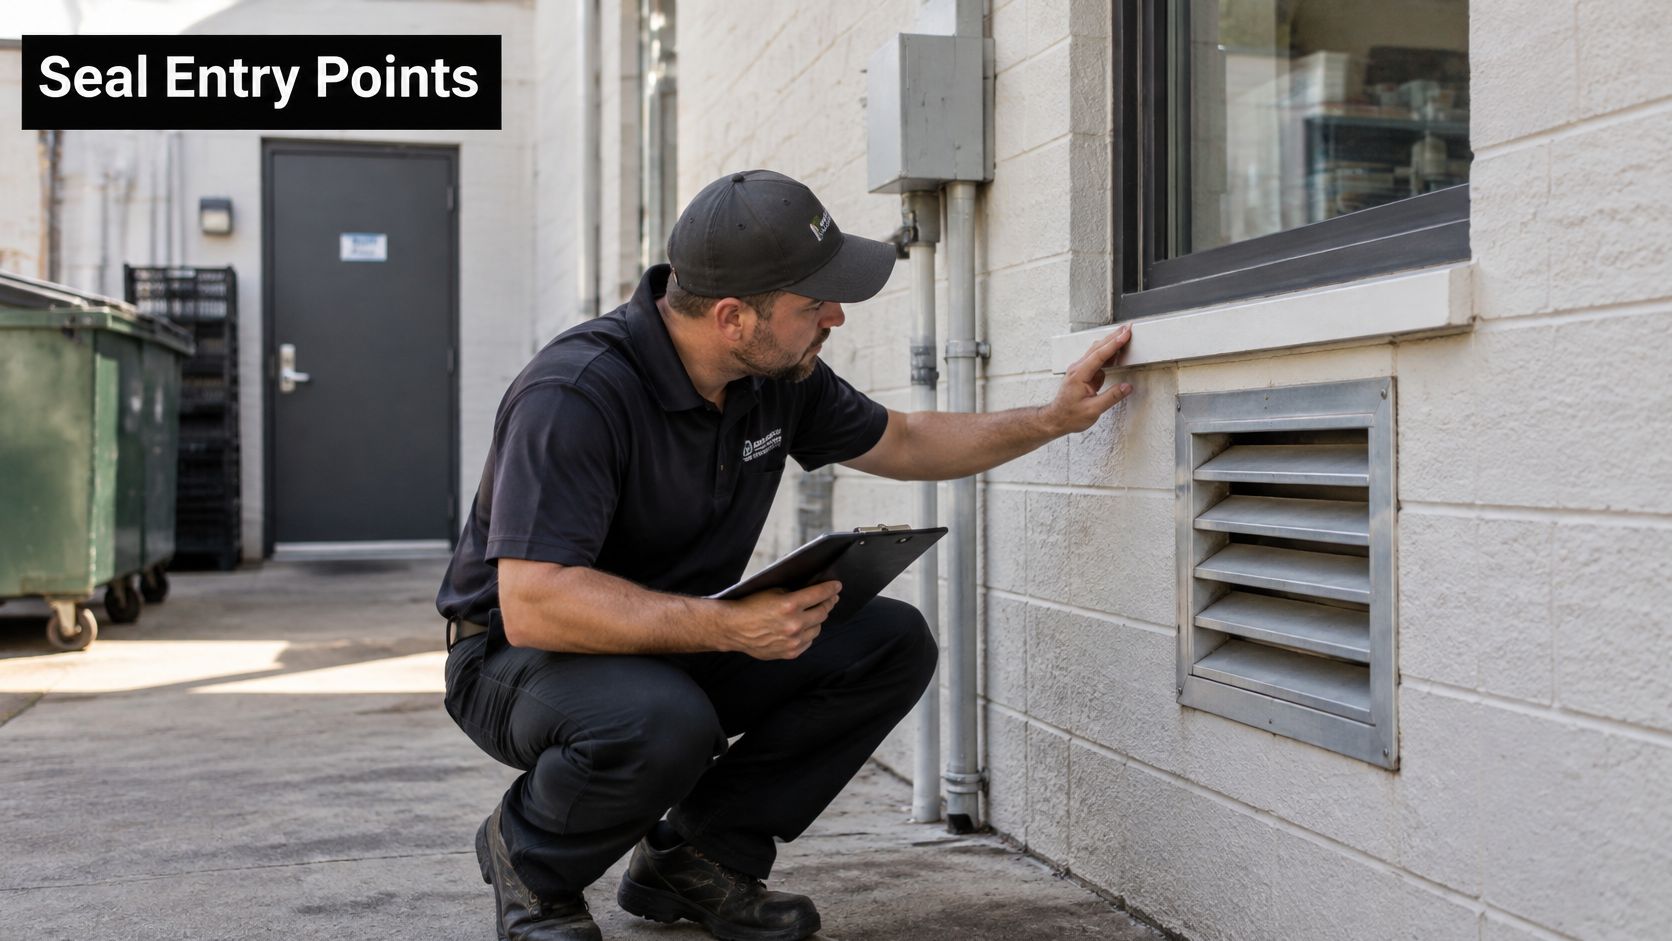
This is the kind of close wall and penetration check that finds entry points a casual walkthrough misses.
Doors, Gaps, and the Openings People Miss
Fit self-closing hinges on back doors and check that door sweeps touch the threshold along their full width, including the corners. Ban propped doors between deliveries. A door held open for convenience during a two hour prep window admits more flies than a screen stops all week, so make someone on each shift own that door.
Then check the gaps that rarely make a cleaning list:
- Pipe and cable penetrations: Seal around plumbing, gas, and electrical lines where they pass through walls, using pest-resistant materials such as metal mesh with sealant or sheet metal escutcheons, not loose foam alone.
- Floor-to-wall junctions: Look for cracked coving and gaps behind equipment where roaches travel unseen.
- Under the hood and around vents: Confirm vent screening is intact and fitted tight, without blocking required airflow.
- Loading and dumpster doors: Check worn weatherstripping and bottom corners, where doors often look closed but still leave a gap.
For patios and event setups, open doors and guest traffic create short, intense openings. Set a simple rule that the patio door closes after each trip, and assign it to the runner rather than "everyone." During outdoor service, covered food and prompt clearing matter as much as the door, because exposed plates give flies a reason to stay.
After close, turn off the kitchen lights and have someone stand outside with a flashlight. Any light you see around doors, pipes, and vents marks a gap a pest can use.
Log each repair with location and date. When the same door sweep fails three times in a season, that record justifies replacing the door hardware instead of patching it again.
Monitoring Logs and When to Escalate
A drop in fly counts at the dish pit paired with a rise in the walk-in corridor doesn't mean you fixed anything. It means the activity moved, probably because you cleaned one breeding site while another stayed open. Monitoring exists to catch exactly that, and it's why counts by location matter more than a single building-wide total.
The U.S. Environmental Protection Agency introduction to integrated pest management defines IPM as a coordinated process based on inspection, monitoring, and reports, not a single control product or technique. It also states that establishments should maintain records for each building showing monitoring techniques, locations, inspection schedules, findings, and recommendations, and that control is required when action thresholds are exceeded.
Set Fixed Stations and Review Weekly
Place trap stations at fixed, numbered points and don't move them casually, or your trend data becomes meaningless. Good defaults are the kitchen line, dish area, waste room, dry storage, and outdoor patio door. Position fly capture devices away from exposed food and food-contact surfaces so dead insects can't fall onto food, utensils, equipment, or linens, and empty or service traps on schedule so remains don't accumulate and attract other pests.
Log each sighting with station, date, shift, and species where you can identify it. Review counts weekly with the shift leads, not just at the contractor visit. A five minute review that compares this week to last week at each station tells you whether a correction worked, and trending by shift often exposes a closing routine problem that a daytime inspection never sees.
Escalation Triggers to Set in Advance
Decide your triggers before you need them, so a busy Saturday doesn't turn into a debate:
- Any rodent sign: Droppings, gnaw marks, or a live sighting triggers a same-day call to your contractor and isolation of affected stock.
- Any sighting in a prep area: Stop, protect exposed food, document, and escalate regardless of count.
- A sustained rise over two review periods: Rising counts at one station mean the source is still active, even if numbers look small.
- No decline after a correction: If you scrubbed the drain and counts didn't fall within the next cycle, inspect again rather than adding product.
Threshold test: If you can't say which station rose, by how much, and what you'll do differently, you're collecting sightings, not monitoring.
Keep the logs on file and bring them to each contractor visit. A contractor working from your trend sheet treats a confirmed hotspot. A contractor working from memory treats the whole kitchen, which costs more and proves less.
Pest-by-Pest Controls That Work
The pest decides the control. Flies and cockroaches respond first to sanitation and moisture control, rodents need exclusion plus secured baiting, and stored-product pests need sealed containers and stock rotation. Reaching for the same spray for all of them is why programs stall.
For flies specifically, sanitation and exclusion come before insecticide, and non-chemical capture comes next. If small flies are your recurring issue, our guide on how to control fruit flies at the source goes deeper on drain film and produce waste. Contractors who work this way also tend to win better clients, which is one reason firms invest in local SEO for pest control companies to reach restaurants looking for prevention-led service rather than spray-and-go visits.
| Pest | Where it hides or breeds | First control | Common mistake |
|---|---|---|---|
| House flies | Refuse, recycling and loading doors | Close bins, clean the refuse area and add a UV light trap away from food | Fogging without fixing the source |
| Drain and fruit flies | Floor drains, grease traps and produce waste | Scrub drain film and remove organic waste | Spraying over drains that keep breeding |
| Cockroaches | Behind equipment, under sinks and in wall voids | Reduce moisture and clutter, then use gel and crack-and-crevice treatment | Broad liquid spraying in food areas |
| Stored-product pests | Flour, spices, dry goods and pet food | Move stock into sealed containers, rotate stock and inspect bags | Leaving opened bulk bags on shelves |
| Rodents | Gaps at pipes, under doors, wall voids and the dumpster area | Seal gaps, remove food sources and set tamper-resistant bait stations | Loose bait or bait placed near prep areas |
| Ants | Sugar and grease spills and wall gaps | Clean spills, seal entry points and use targeted bait | Spraying trails, which scatters the colony |
How to Use the Table During Service
Take the pest named in your monitoring log, find its row, apply the first control, and check the mistake column before anyone reaches for a spray can. Say the log shows drain flies at the dish station two weeks running. The correct move is a stiff brush, an enzyme drain cleaner that digests organic film, and a check of the mop sink and soda gun drip tray, not a fogger. Say it shows roaches behind the lowboy. You dry the condensate leak, clear the cardboard, and your contractor places gel bait in cracks where roaches harbor.
Three safety rules apply to every row. Pesticides must never contact food or food-contact surfaces. Chemicals stored on site stay in a sealed, restricted-access locker, labeled and away from ingredients. Any treatment in a dining room or near a prep line happens outside service hours or with food removed and surfaces protected, following the product label.
I would escalate on a simple test: if a pest doesn't decline within one contractor service cycle after you've corrected the first control, the source is still open. Ask the contractor to re-inspect the building, drains, and neighboring voids rather than add more product. More chemical on an open source just raises exposure while the breeding site keeps working.
Meet Health Code and Licensing Requirements
Compliance is a set of records an inspector can find in minutes, not a memory of what the contractor said last month. Build your file before an inspector asks for it, and keep it where any manager on duty can reach it.
Start with the rulebook your jurisdiction enforces. The FDA Food Code is a model framework, and the FDA summary of Food Code adoption by state and territorial agencies states that all 50 states, including Washington, D.C., have adopted some version of the Food Code, although editions and adoption dates vary. Confirm which edition your local health department enforces and read its pest, screening, and pesticide sections, because that's the standard you'll be scored against. Our breakdown of common restaurant health code violations shows how pest findings typically appear on inspection reports.
What to Keep on File
- Contractor license: Confirm your pest contractor holds the pesticide applicator license your state or city requires for commercial food premises, and keep a copy current.
- Service reports: File every report with date, areas treated, products used, and recommendations made.
- Product labels and application records: Keep labels for anything applied or stored on site, so you can show what was used and where.
- Your own logs: Receiving, cleaning, inspection, and sighting logs, each correction dated with a named owner.
Know what inspectors look for: pests present during the visit, evidence that you took pest-control action, and harborage conditions such as gaps, clutter, standing water, and dirty drains. A repeat finding after a documented, dated correction reads very differently from one that was ignored. The first shows a working program with a hard problem. The second shows no program at all.
Keep records for the retention period your local rule requires. When a problem involves a neighboring unit, a shared drain, or a structural defect outside your control, escalate to the landlord or contractor in writing and file the response. That paper trail proves you identified the source and acted, even when the repair isn't yours to make.
Assign Roles, Train Staff and Run the Monthly Check
Recurring pest problems after hiring a contractor usually aren't a treatment failure. They're an ownership failure, where the contractor treats monthly and nobody owns the doors, drains, and waste timing in between. Split the work explicitly and give each task a named owner on the shift schedule.
| Task | Restaurant team | Pest contractor |
|---|---|---|
| Receiving inspection | Check and reject suspicious deliveries | Advise on trends seen in deliveries |
| Cleaning and waste | Clean, close bins and move waste between services | Recommend a waste pickup schedule |
| Door and screen repairs | Report damage and patch minor gaps the same day | Inspect and seal structural gaps |
| Trap checks and logs | Empty traps and log every sighting | Service traps and produce trend reports |
| Treatments | Keep chemicals in a sealed, locked locker and clear work areas | Apply licensed treatments and file a service report |
| Records | Keep daily cleaning and inspection logs | Keep service reports and share findings |
| Staff training | Run pre-shift huddles and onboarding | Supply training materials and attend review meetings |
Train in three layers: a pre-shift huddle on signs to watch for, onboarding for new hires before their first solo close, and a quarterly refresh for the whole team. Teach three habits until they're automatic: report a sighting in the same shift, never prop a door, and never leave food out of a sealed container overnight. For events, catering, and patio service, name one lead who owns doors, bins, and food covers for the whole event, since diffused responsibility is where outdoor service breaks down.
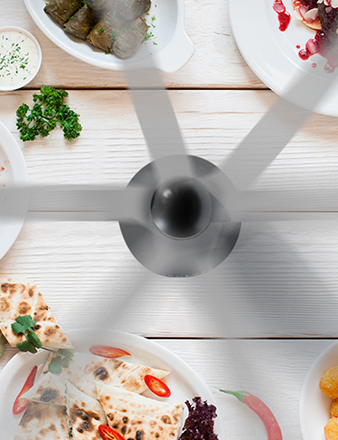
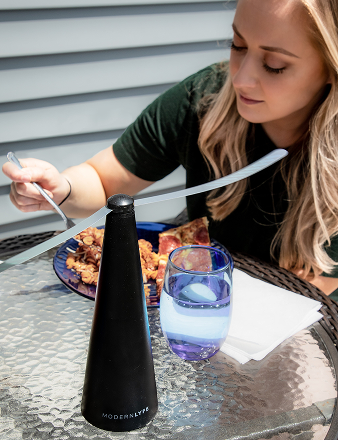
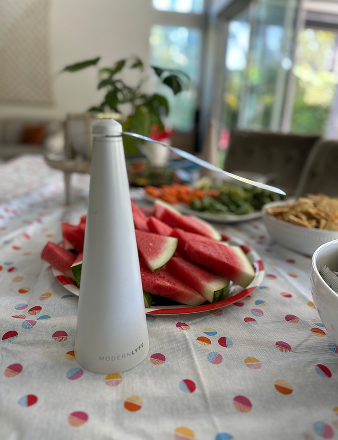
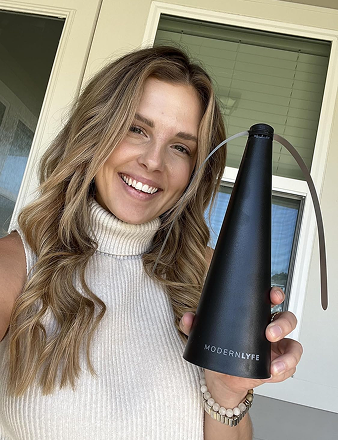
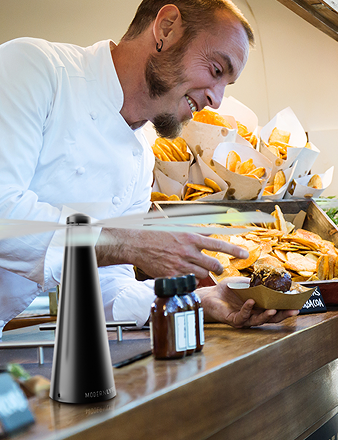
Guest-facing, non-chemical barriers help during that outdoor service. Our Fly Fan for Tables is a rechargeable fly fan for outdoor and indoor use that keeps flies and pests away from food, and it's intended for outdoor tables, patios, parties, food trucks, and al fresco cafes. Modern LYFE is perfect for restaurants and bars where you can't spray near guests, though a table fan protects the plate in front of it and doesn't replace drain cleaning or waste control.
The Monthly Check in Under an Hour
Confirm licensed applicators and service records are current. Confirm pesticides sit in a sealed, restricted-access locker and that no spraying happens while food is exposed. Confirm fly-capture devices can't drop dead insects onto food or equipment, screens and penetrations pass your exclusion check, and the trap log shows a trend you can explain station by station.
Finish by picking one open item from each of the six phases, assigning an owner and a date, and bringing the trend chart to the next contractor visit. That single page turns your monthly service from a routine spray into a working review, and it's the clearest proof your restaurant pest control program is running.
Protect the food your guests see while your program fixes the sources they don't. MODERN LYFE makes quiet, rechargeable fly fans that keep flies away from plates on patios, buffet lines, and food truck counters without sprays or odors near diners. Visit MODERN LYFE to choose the pack size that fits your tables and add a guest-friendly barrier to your next service.